3 Ways | How to Take a Screenshot on an Acer Laptop Effortlessly
Though it may seem trivial, taking a screenshot on Acer's laptop is vital in day-to-day activities. Screenshots are helpful in some ways, after all. The screenshot tool can seize a particular frame from a video. That is handy when the capture mode is not allowed on video-sharing websites. The screenshot is very useful for a variety of things, including business and entertainment, and is shareable with others. Thus, this post provided the best three ways to take a screenshot on an Acer laptop without hassle. So, read until the end.

PAGE CONTENT
Part 1. Best Way on How to Screenshot on Acer
Vidmore Screen Recorder is a handy screen recording tool. It lets you take screenshots, record HD video and audio, and capture any part of your screen. This fantastic tool allows you to capture any screen at any time. Both novice and seasoned YouTubers, vloggers, gamers, instructors, and video producers can utilize it with ease. This astounding tool can take screenshots of a specific area, window, or entire screen.
Key Features:
Fast capture selected area.
The most straightforward tool for taking screenshots on Mac and Windows is Vidmore Screen Recorder. This feature lets you take a rectangular snapshot of the entire screen or a chosen region. You can take and store screen grabs of your computer with only three easy clicks. Moreover, it also supports scrolling capture mode, enabling users to capture a webpage on an active window. This screenshot tool also supports keyboard shortcuts. You can use the software to capture any screen activity. You can do this using the keyboard, and it is simple and quick.
Annotate screenshots.
The Vidmore Screen Recorder is useful for adding annotations to screen captures. You can alter your snapshot right within the program after taking it. The editing box offers many choices. They help you make visual instructions and guidelines. They also give your screenshots style and professionalism. The editing tools include:
- Line and Shape. Add lines or shapes to catch attention to particular areas.
- Arrow. To point out a specific spot or object on your screen captured image.
- Draw. Draw anything using your mouse to emphasize and add creativity to your screenshot.
- Text. Add text to annotate a description or explanation about something in the image.
- Blur. To cover sensitive information or part of your screen, you do not wish to be seen by others.
- Numbering. This implies sequential steps in a guiding screenshot.
Easy sharing.
After making edits, you can save the screenshot by clicking on it or copying it to the clipboard. This software lets you store your screenshots in popular file types. These include JPG, PNG, BMP, GIF, and TIFF. You can choose the output format in the settings. After that, you can quickly email or post screenshots on any website.
Check the steps below on how to screenshot on an Acer laptop using this sophisticated screen capture tool:
Step 1. Download and install the Vidmore Screen Recorder on your desktop. Once done, launch the program.
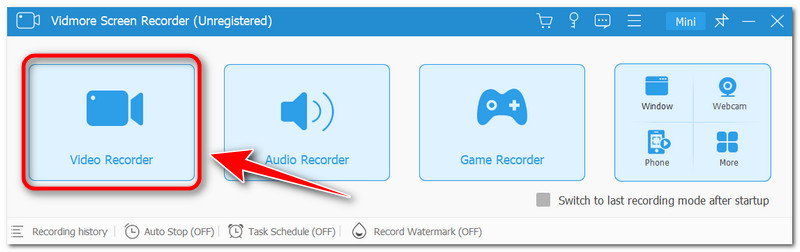
Step 2. Suppose you want to take screenshots while screen recording. You may go to the Video Recorder tab and click it.
Step 3. The camera icon for taking screenshots is located above the Recording button in the right corner of the interface. After you click it, choose your preferred capture mode in the options.
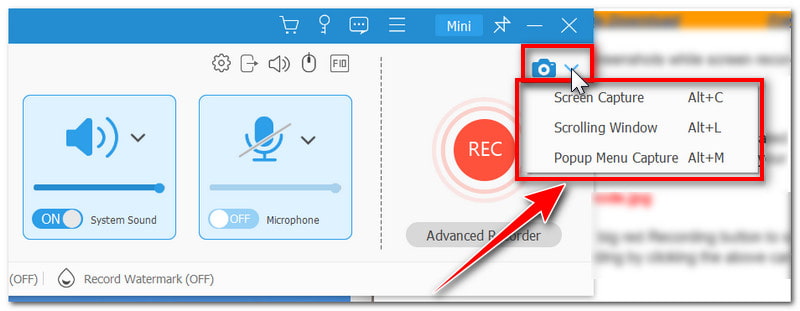
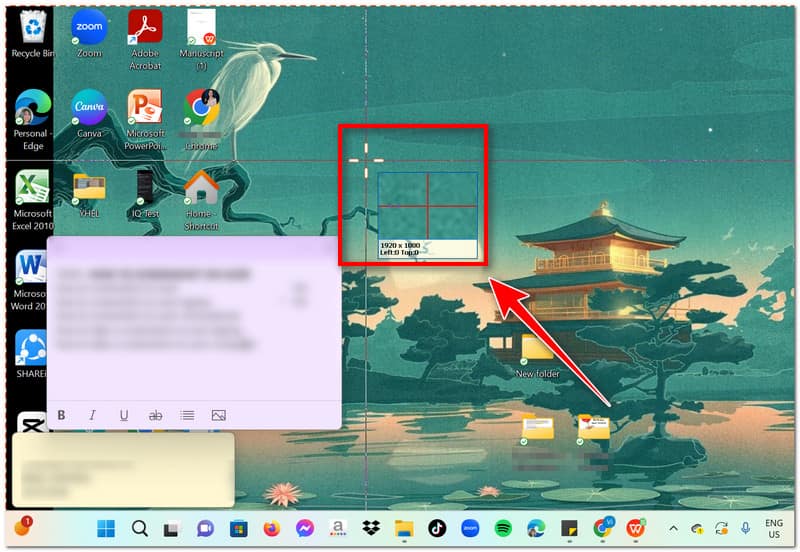
Step 4. To use screen capture mode, click it in the options list or press the Alt + C keys. Next, choose whether to capture a particular area or the entire screen and drag the screenshot indicator.
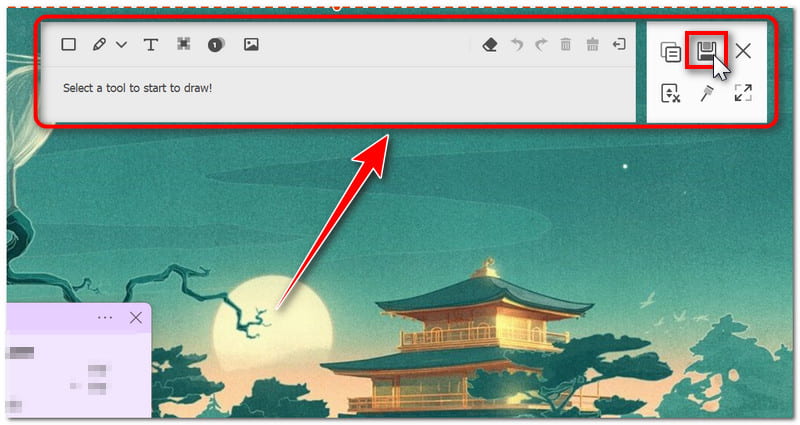
Step 5. After you’ve taken a screenshot, you may edit it directly in the app before saving it. You can add text, shapes, arrows, and more. After that, tap the Save icon or press Ctrl + S to save the screenshot in your local file.
Part 2. Default Way to Screenshot on Acer
Use the Snipping Tool
The Snipping Tool is a function first included in Windows 7 and is accessible in Windows 8, 10, and 11. It can take a screenshot and save it as an image file. It can capture the entire screen, a window, or a rectangular portion of the screen. It is a good choice if you need to take a small section of the screen. It is perfect for defining a very particular area of the screen, such as a portion of a webpage. It has a crop tool, a highlighter, and the ability to take delayed screenshots. Yet, some complained that it did not work on their computer. This was after they had updated to the new version of Windows 11. The underlying cause is still uncertain. Some say it may be due to bug issues with the latest update or the app itself has the problem. Still, you can rely on this tool to take a screenshot on an Acer laptop.
Pros
- The Snipping Tool offers basic image editing tools.
- It is already pre-installed in Windows.
- Users can send the screen-captured images directly from the app through email.
- It is the best tool if you only want to take screenshots.
Cons
- It does not support scrolling capture mode when taking screenshots.
Note: The following guidelines were created using Windows 11. Similar software is included with Windows 10, though its name may vary based on your Windows version. It may also be called Snip & Sketch.
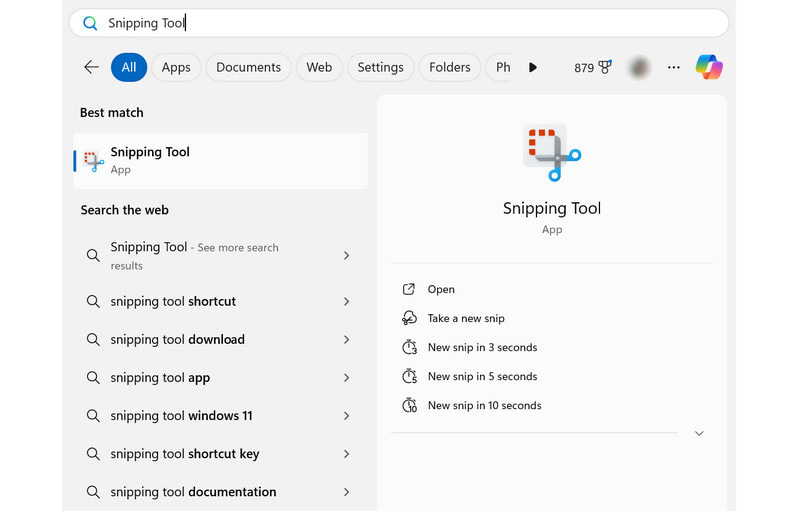
Step 1. In the Search tab beside the Windows icon, search for the Snipping Tool on your desktop. After that, launch the program.
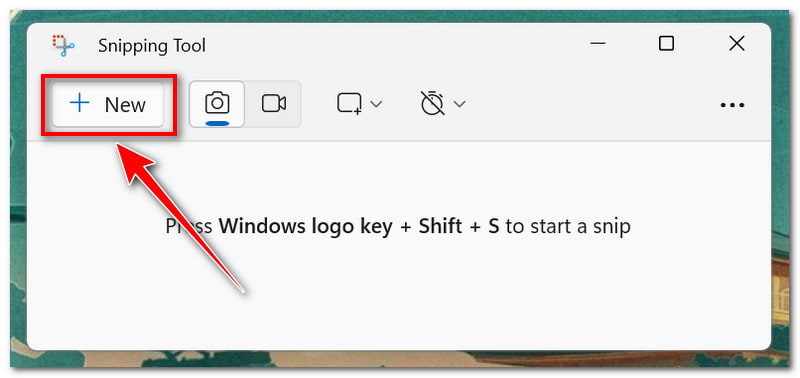
Step 2. Once done, click the New tab to take a new snip. Your screen will slightly dim after you click that. In the options, you can choose the mode of capture you prefer.
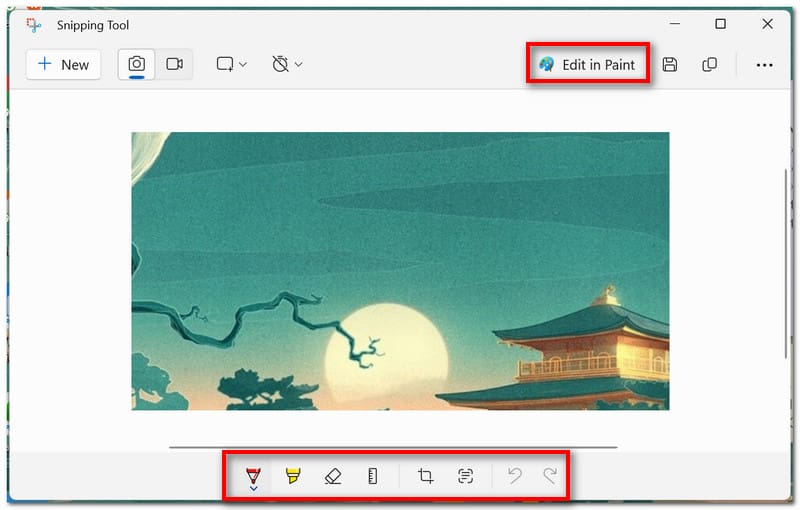
Step 3. After you take a screenshot, it will open in the app. You may annotate it with a pen, highlight something, or edit it in Paint 3D.
Step 4. Once done, click the Save icon or press the Ctrl + S hotkeys on the keyboard to save it as a local file.

Use Keyboard Shortcuts
On an Acer, you can also utilize different keyboard shortcuts to take screenshots. With this, you don’t have to download and install third-party software to do the job. However, unlike when you use a screenshot tool, you cannot edit the screenshot afterward since it will abruptly be saved as an image file.
Pros
- It is the easiest way to take screenshots on an Acer laptop.
- Users do not have to install other software to screen capture.
- Every shortcut hotkey is configured to take a specific screen capture mode.
- This method is available on Mac and Windows.
Cons
- You cannot edit the screenshots first before saving them.
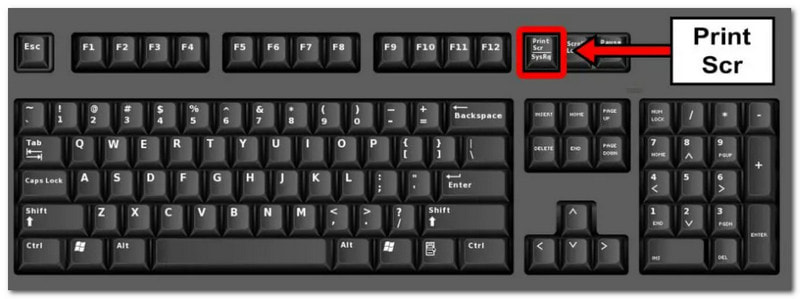
One method of taking a screenshot is to use the Print Screen function key on the keyboard. Usually located in the function row, it goes by the acronym PrtSc. When using this key, the screenshot is saved to the Windows clipboard. Then, users can paste it into other apps or online sites.
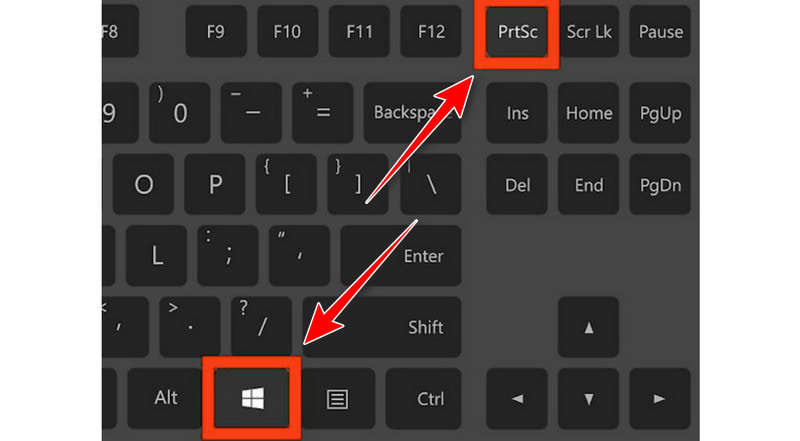
This is the second way to take a screenshot on an Acer laptop. Press Win + PrtScr to save the screenshot immediately to a file on the laptop, bypassing the need for the clipboard.
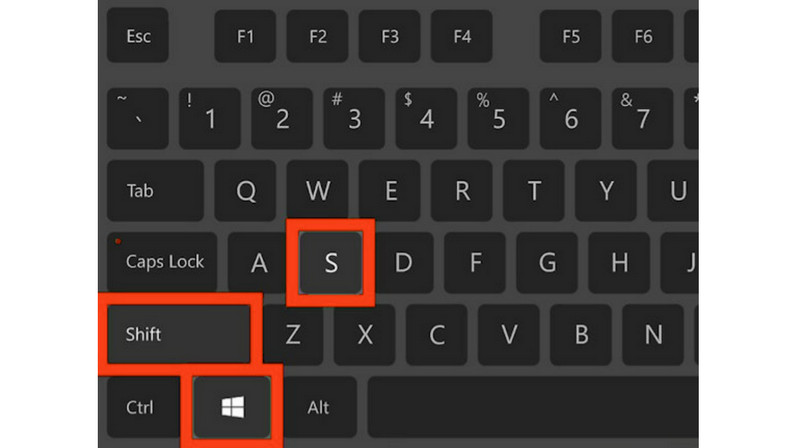
Lastly, to activate the Snipping Tool, press Win + Shift + S. By bypassing the app’s home screen, you can take a screenshot as soon as it launches. The instructions above provide a lot more information on how to use it.
Part 3. FAQs on How to Screenshot on Acer
Which button is the screenshot on a laptop?
It is the Print Screen (PrtSc) key on your keyboard. Most keyboards have it on the upper-right side (or close to the Space Bar on some).
How do you screenshot on an Acer Chromebook?
If it’s available on your Chromebook, hit the Screenshot key. To take a screenshot with your Chrome without a screen capture key, use Shift + Ctrl + Show Windows. To display the Windows key on your external keyboard, press Ctrl + Shift + F5.
How do I take a screenshot using my Acer shortcut?
Press PrtSc to capture an entire screen (or several screens) and save it to the clipboard. Press Win + PrtSc to store a screenshot in the Pictures’ Screenshot folder as an image file. Pressing Win + Shift + S launches Snipping Tool, an application that allows you to take screen captures of specific areas.
Conclusion
Now you know how to take a screenshot on an Acer computer. You have a few options for taking screenshots: built-in software and keyboard shortcuts. Vidmore Screen Recorder, on the other hand, is the best option if you want complete control over your screenshots. It offers numerous customization options, like scheduled recording and customizable hotkeys. Moreover, you can do more than take screenshots with this tool, such as make a screen recording or capture gameplay online. So, what are you waiting for? Download it now!