How to Record a Zoom Meeting with Audio as a Host or Participant
The local or cloud recording feature is available for all Zoom paid subscribers. The recorded Zoom files can be downloaded to your computer or streamed from a browser. However, not all Zoom attendees can record Zoom recording. Only Zoom hosts and co-hosts and start a cloud recording in Zoom. If you are a participant, you need to get the permission from the Zoom host first.
What if you want to record a Zoom meeting if you are not the host without permission? During this time, you can use third-party Zoom recording software to record Zoom meetings without others knowing. Well, this article will show you how to record a Zoom meeting as a participant or host. Just read and follow.

PAGE CONTENT
Part 1: How to Record a Zoom Meeting as a Participant without Permission
Even though there is no recording permission from the host, you can still record Zoom meetings with Vidmore Screen Recorder. The Zoom recording software is capable to record a Zoom meeting with audio secretly. You can record all on-screen activities with the system sound and microphone voice. There is no need to notify the Zoom host. You can record, preview, trim and save Zoom recordings on Windows and Mac in one stop.
- Record a Zoom meeting with any screen size.
- Record any audio from the Zoom meeting, as well as your voice from microphone.
- Take a screenshot of the whole screen or the Zoom window.
- Add text, arrows, shapes, mouse area effects and mouse click to your Zoom recording video.
- Choose the start and end time after recording Zoom meetings.
- Work with Windows 10/8.1/8/7 and Mac OS X 10.10 or above.
Step 1: Free download, install and launch Vidmore Screen Recorder. Choose Video Recorder to record Zoom meeting video.

Step 2: Choose Full or Custom to set the screen capture area. If you want to record Zoom meeting audio, you can enable System Sound and Microphone options.

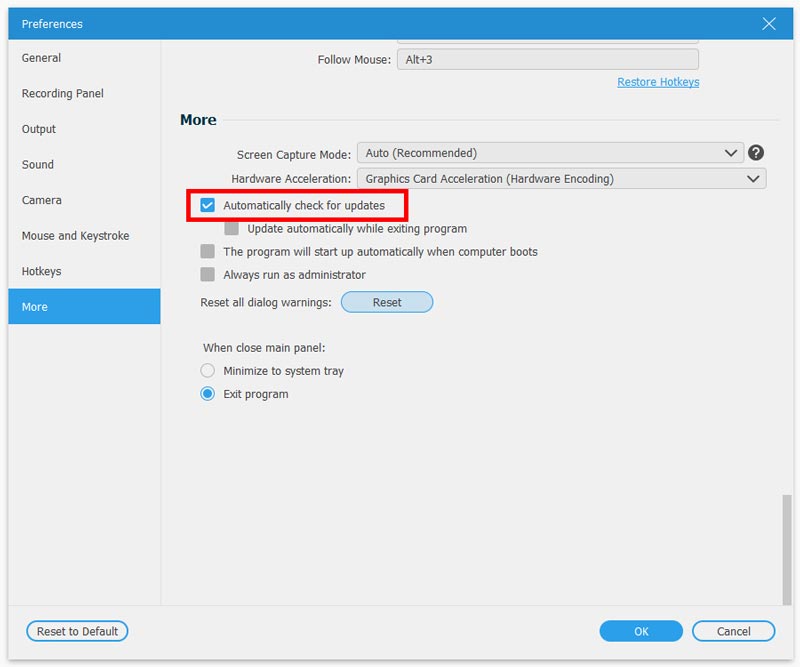
Step 3: Click the Menu icon on the top right corner of the Zoom recorder. You can set the output format, hotkey, mouse effects and other settings. Click OK to save changes.
Step 4: Now you can click REC to start recording Zoom meeting without permission. You can pause, resume, add real-time drawing tools and take screenshots while recording Zoom. When you stop recording, you will be in the Preview window by default.

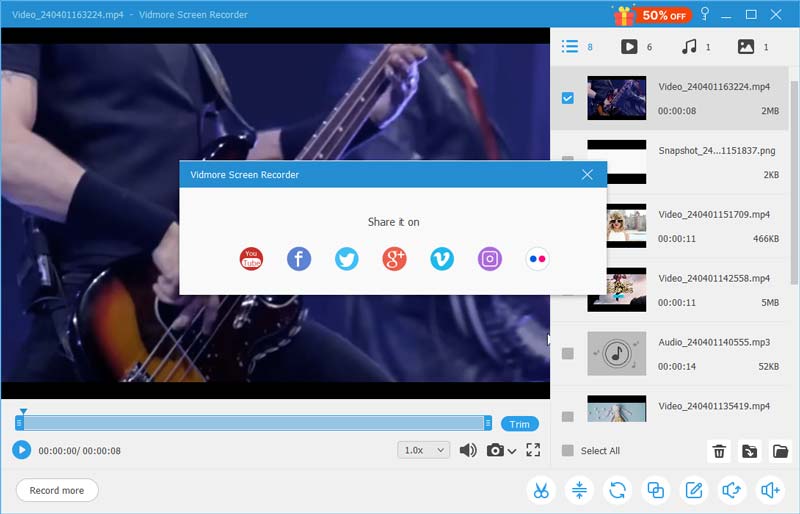
Step 5: You can trim the Zoom meeting recording if necessary. Later, click Save to export the recording file. In the Recording history window, you can rename, play, share and delete any file directly.
Part 2: How to Record a Zoom Meeting as a Host
If you have the permission to record a Zoom online meeting as a host or participant, you can try the following steps to start a cloud recording in Zoom.
Step 1: Sign into the Zoom web portal as an administrator. Click Account Settings and then turn on Cloud Recording in the Recording section.
Step 2: Start a meeting as a host. Then click the Record button near the bottom.
Step 3: Select Record to the Cloud before recording Zoom.
Step 4: You can click Pause/Stop Recording to control the entire Zoom recording process.
Step 5: When you stop recording, you will get an email sent by Zoom. It is required to process Zoom recording before viewing.
Step 6: You can view, share, download or delete any Zoom cloud recording file.
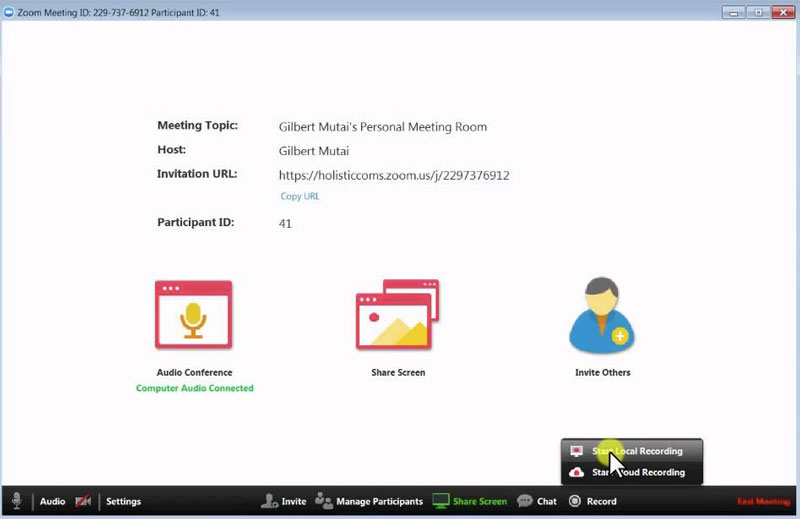
You can enable auto deletion, recording analytics and other recording settings within Zoom. It is true that Zoom offers the screen recording feature. The problem is that not all users can record meetings in Zoom, especially when you want to record Zoom meetings without permission secretly.
By using the Zoom recorder alternative, you can record Zoom meeting video and audio flexibly. It is supported to record HD Zoom video, audio, gameplay, webinar and screenshot without time limit. Moreover, you can record other online meetings, web streams and more without any person know. If you still have questions about Zoom meeting recording, you can feel free to contact us. It is also welcome to free download the software to have a try.
