How to Record Cisco WebEx Meetings with Audio and Video with Ease
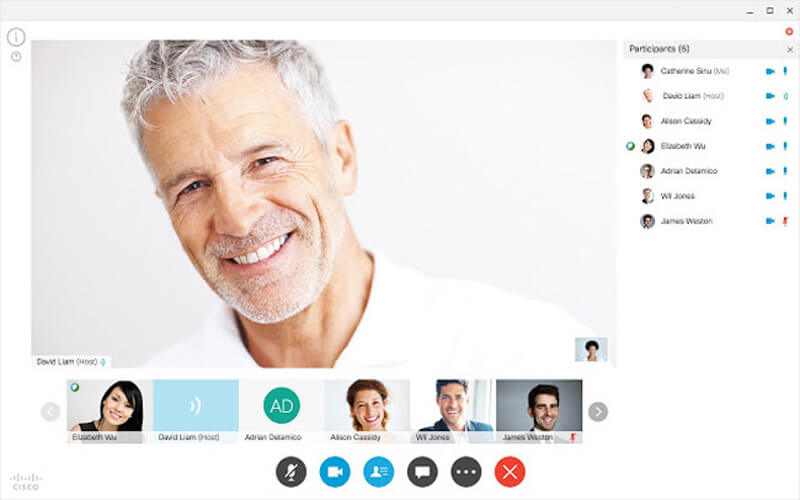
When you want to record Cisco WebEx meetings for a conference, what should be the best WebEx recorders to capture audio, video and even the webcam files? Of course, if you were a host with the Cisco WebEx Recorder, you can record WebEx meetings with audio and video without any problem. How about the attendee? Is there a method to record lectures or meetings of WebEx as an attendee? Just learn more about the ultimate guide you should know from the article now.


Part 1: How to Record WebEx Meetings with Cisco as Host
Cisco WebEx Recorder is the default method to record WebEx meeting with time, attendee and more other information. Moreover, you can also play and edit the recording files. It is only available to the host and limited to WebEx Recording Format.
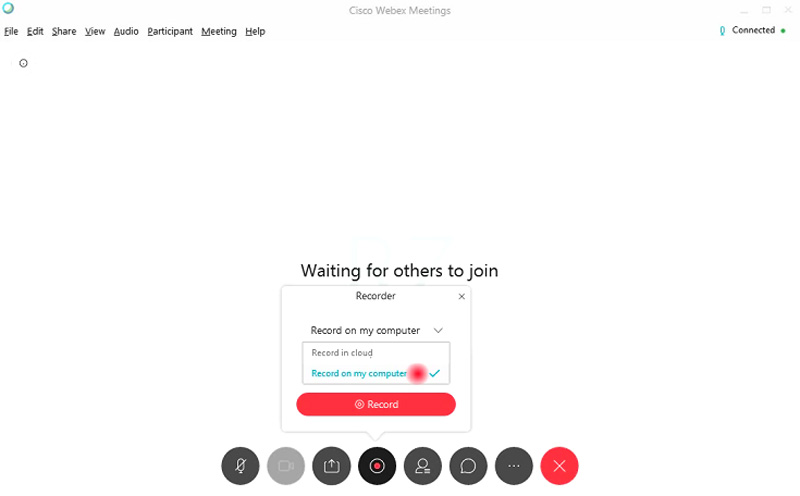
Step 1: When you launch a WebEx meeting as a host, you can go to the Meeting menu and choose the Recording Settings option. Enable the Record audio from this computer button from the Record on this computer drop down list.
Note: It only enables you to record the audio for WebEx meeting from your computer. You cannot record audio files from another attendee even if you are a host.
Step 2: Once you have invited all the attendees, you can find the popup Record button to record a WebEx meeting. Select the destination folder for the output file and click the Record button to capture the WebEx meeting screen and audio file.
Step 3: You can manage the recording via the control panel, such as stop, pause and continue the recording. When the WebEx meetings end, you can receive an email with the recording link that enables you to access the recorded files from the WebEx website.
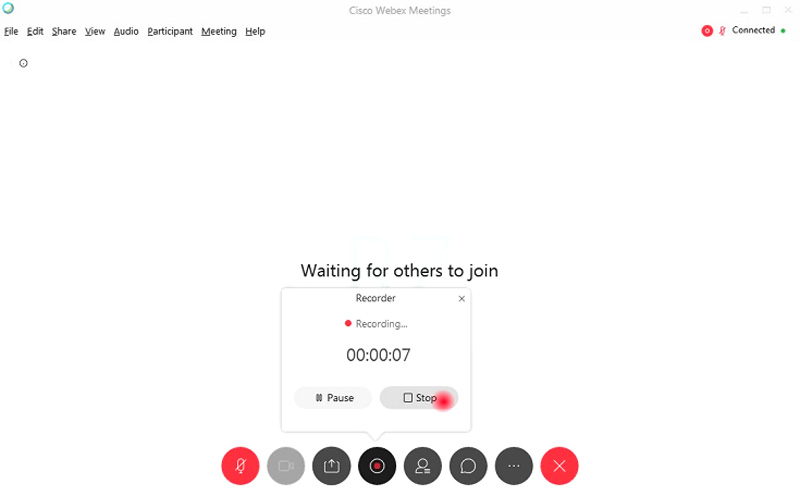
Step 4: After that, you can download the recorded WebEx meetings files in WRF format. If you need to send the videos to the attendee or further edit the videos, you have to convert the WRF videos to MP4, MP3, AVI or WMV beforehand.
Part 2: Best Method to Record WebEx Meeting as Attendee
- Record WebEx meetings with video, audio or webcam files with ease.
- Capture WebEx recording to MP4, WMV or MP3 with the original quality.
- Add real-time drawing and mouse effect to mark for the WebEx recording.
- Edit and trim the WebEx recording and set the schedule recording.
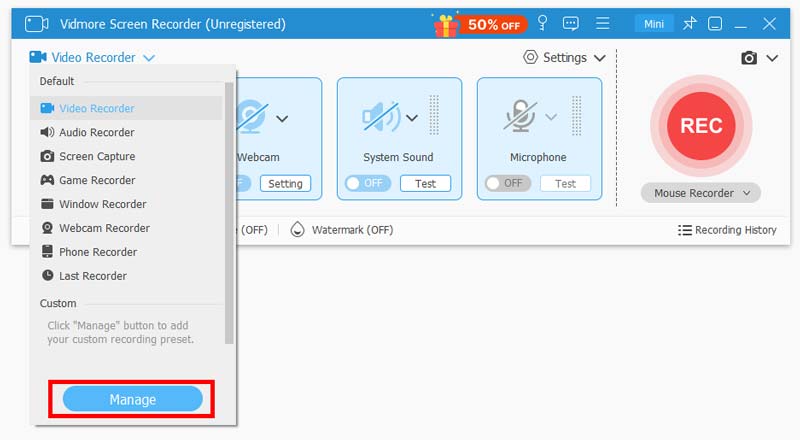
Step 1: Download and install the WebEx meeting recorder, you can launch the program on your computer. Click the More option and choose the Manage button to customize a recording preset for WebEx meeting. Select the big Plus button to create a new one.
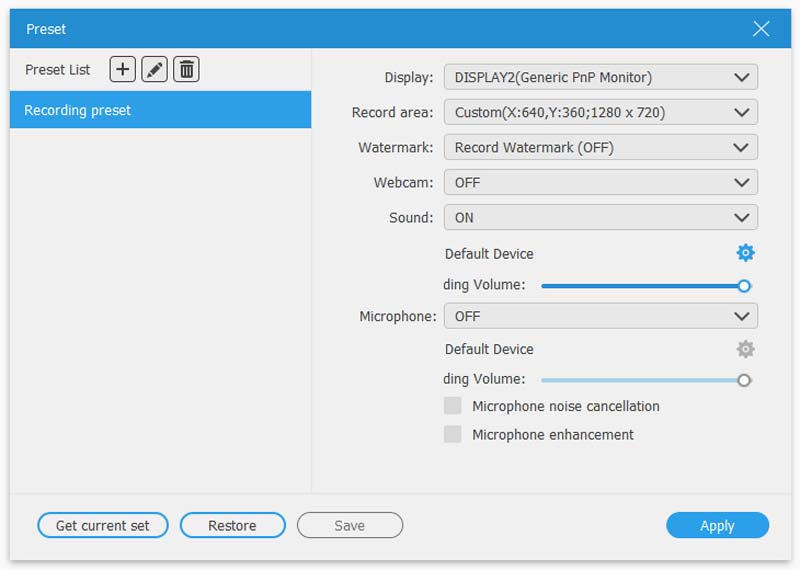
Step 2: You can name the recording preset, choose the desired video format, frame rate, audio format, audio quality and even the volume according to your requirement. Click the Save button and choose the Apply option to save the changes accordingly.
Step 3: Go back to the home interface, choose the Video Recorder menu and tweak the recording area for the WebEx meetings. Click the Audio Recorder menu to enable both System Audio and Microphone to record audio files from all attendees.

Step 4: Moreover, you can also enable the webcam option to add the webcam files into the WebEx meeting. After that, you can click the REC button to start recording WebEx meetings. Just record the video before you start the WebEx meeting on your computer.

Step 5: When you captured the WebEx meeting, you can click the Stop button to preview the recorded file. You can also access to the recorded WebEx meeting or use the flip feature during the preview to cut the unwanted part of the file.

Conclusion
In order to record the WebEx meetings, you can use the default Cisco WebEx Recorder to record the videos as a host. But there are some limitations, such as the video format, limited attendee audio files or even the webcam files. As for the case, Vidmore Screen Recorder is the ultimate WebEx recorder to capture all the files with ease.
