How to Fix the Problem that QuickTime Is Not Working on Mac
“I have been trying to use my QuickTime player but for some reason it does not want to work at all, I don’t know why this is happening, please help me figure out how to fix this problem?” As the pre-installed media player, QuickTime works pretty well on Mac. However, users reported many bugs around the media player, such as QuickTime won’t play videos, QuickTime screen recording is not working in Chrome, and more. This post tells you five solutions to fix it.


Part 1: How to Fix QuickTime Not Working When Playing Video
Solution 1: Update Software
When QuickTime is not working on Mac, the first thing you should do is to update your software.
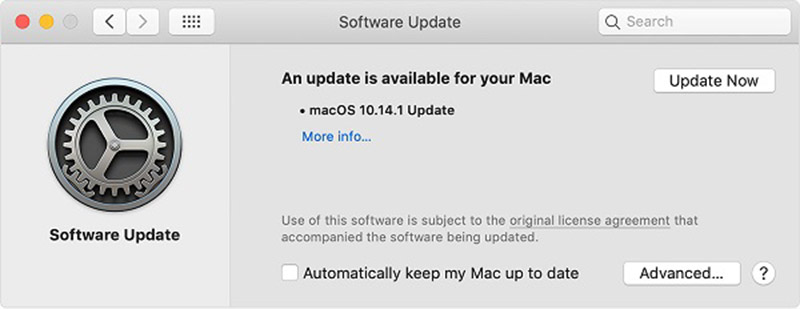
Step 1: Click the Apple menu, go to System Preferences and choose Software Update.
Step 2: If there is an updated available, click the Update Now button and follow the onscreen instruction to install it.
Step 3: Wait for the process to finish, reboot your computer, and open your videos in QuickTime again.
Solution 2: Install Codec Package
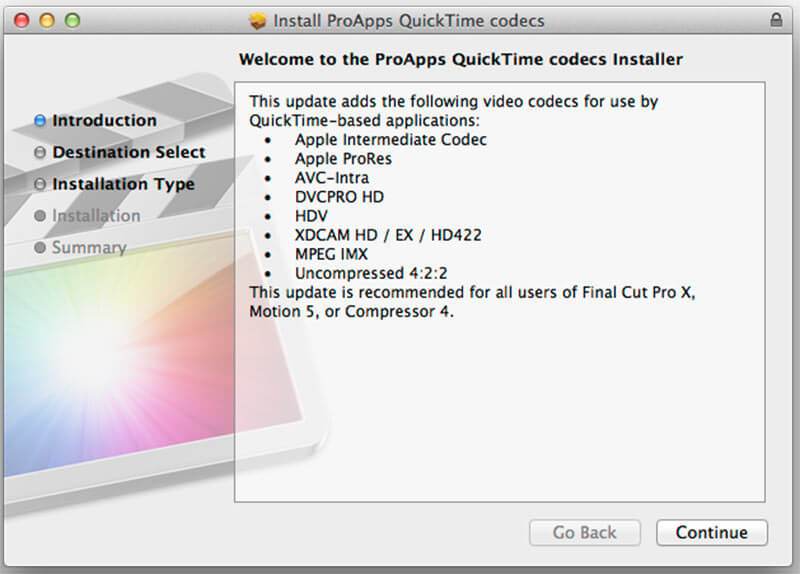
QuickTime is not working partly because your video formats are not compatible. The multimedia formats compatible by QuickTime are MOV, most MPEG files, some AVI and WAV files. If your video does not play in QuickTime, you have three options:
- Look for another media player, such as VLC.
- Convert your video files to QuickTime supported formats, like MOV.
- Install extra codec for QuickTime. You can search for QuickTime codec page in Google, download and install the proper one. Then you can play more video formats in QuickTime.
Part 2: How to Fix QuickTime Screen Recording Not Working
Solution 1: Repair Disk Permission
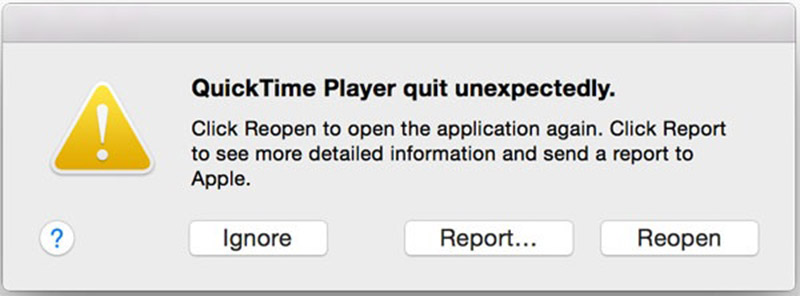
Some users reported that QuickTime is not working when screen recording iPhone. If you receive the message said QuickTime Player quit unexpectedly, follow the steps below to fix it.
Step 1: Open the Disk Utility app from the Applications folder.
Step 2: Go to the boot disk volume, which is used to store system and built-in apps.
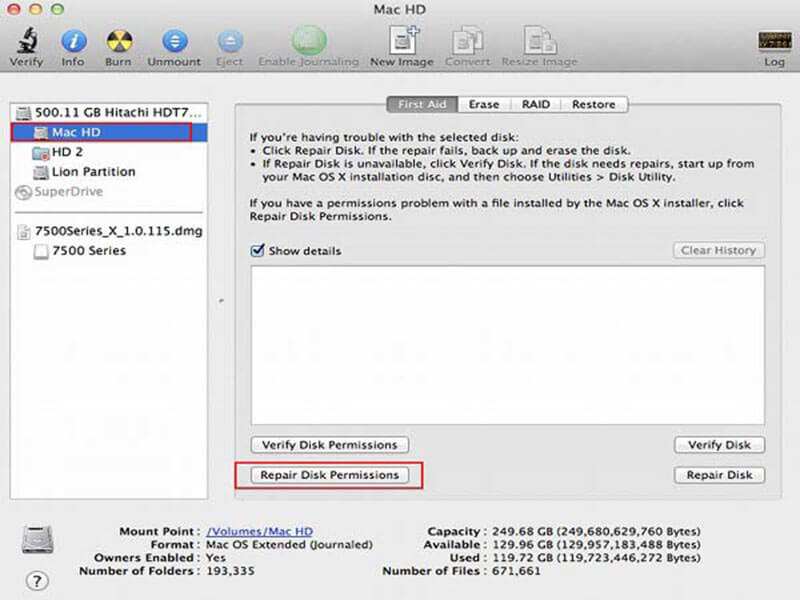
Step 3: Go to the First Aid tab and click Repair Disk Permissions button.
Step 4: When it is done, re-try QuickTime.
Here you may like: What You Can Do When OBS Encoding Overloaded Issue Happens
Solution 2: Find Recording When QuickTime Stuck on Finishing Process
Even if QuickTime is suddenly not working and gets stuck on finishing process, it is possible to get back the recording file.
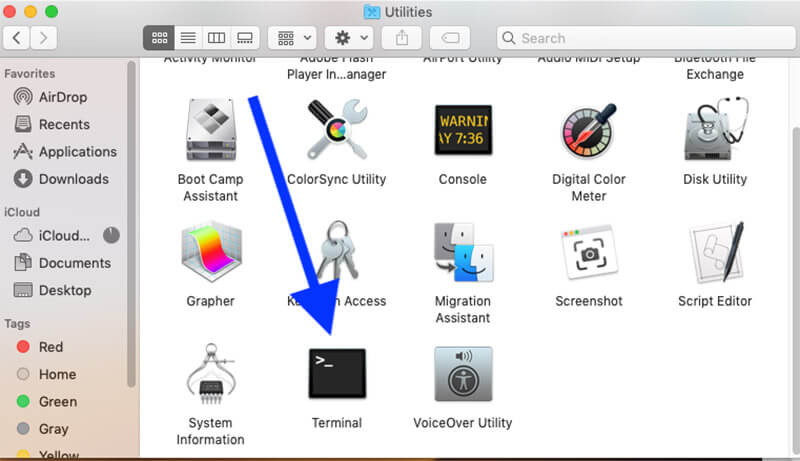
Step 1: Head to the Applications folder and then open Utilities. Search for Terminal and double-click on it.
Step 2: Type the command top -u, and press Enter key on your keyboard.
Step 3: Find the process ID for your QuickTime and write it down. Switch to Terminal, type in sudo kill process ID, and press Enter.
Step 4: Next, find the screen recording from $HOME/Library/Containers/com.apple.QuickTimePlayerX/Data/Library/Autosave Information/Unsaved QuickTime Player Document.qtpxcomposition/Screen Recording.mov.
Solution 3: Look for an Alternative
When mirroring iPhone to Mac, QuickTime might stop working as well. Moreover, the screen recording feature in QuickTime is not working for everything. The copyright protected content in Chrome, for example, is not available. The easiest solution is to get an alternative, such as Vidmore Screen Recorder.
![]() Main Features of the Best Alternative to QuickTime
Main Features of the Best Alternative to QuickTime
- Record anything on your Mac screen in one click.
- Add your reactions to recording via webcam and microphone.
- Easily to use and preset based on your hardware.

Needless to say, it is the easiest troubleshooting when QuickTime screen recording is not working.
How to Record Screen When QuickTime Is Not Working
Step 1: Install the QuickTime alternative
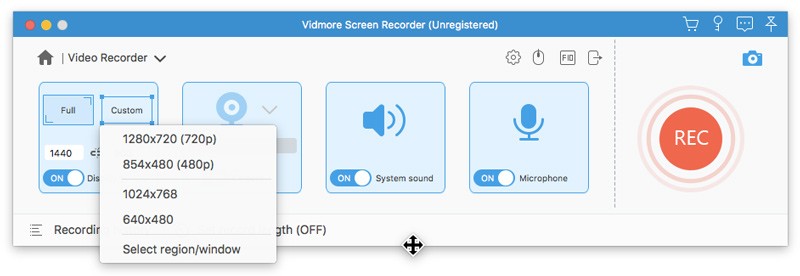
Launch the best alternative to QuickTime once you install it on your Mac. There is another version for PC. Pick Video Recorder to open the main interface. If you want to record iPhone screen, mirror it to your computer.

Step 2: Record your screen
Make sure to turn on DISPLAY and set the recording area based on your need. To record iPhone screen, for example, choose Custom and Select region/window, and draw it with your cursor. Toggle on System Sound and adjust the volume. If you want to add your face and voice to the screen recording, enable Webcam and Microphone; otherwise, disable them.
To set custom options, click the Gear icon to open the Preferences dialog. Next, you can customize the options related to hotkey, output format, and more.
When you are ready, click the REC button to start recording your screen when QuickTime is not working. During the process, you can draw on the recording with the Pen tool or take screenshots with the Camera icon.
Step 3: Edit and save screen recording
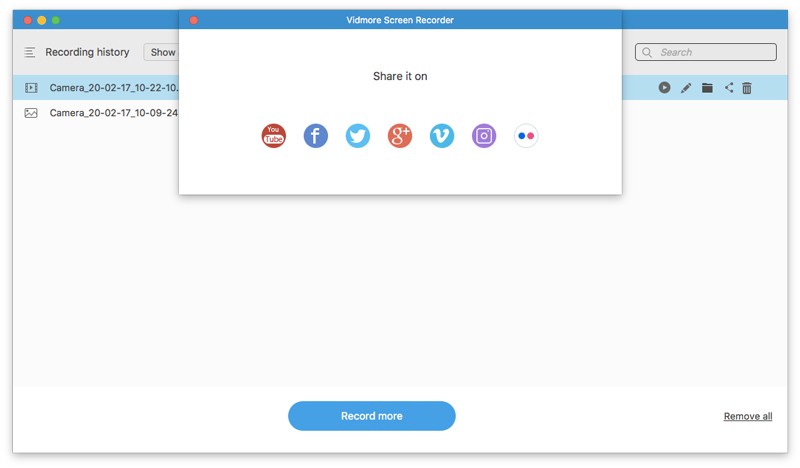
When screen recording is done, click the Stop button to enter the preview window. Play the screen recording and click the Save button if you are satisfied. Then you can share the screen recording to social media or watch it on any device.
Part 3: FAQs about QuickTime Not Working
What can I use instead of QuickTime?
QuickTime is the built-in media player on Mac and available to PC as well. If it does not work normally, you can try third-party media players, such as VLC.
How do I update QuickTime on my Mac?
QuickTime is a part of macOS. Therefore, you can update software and QuickTime will be up to date. If you just want to update QuickTime, you can download the latest version from Apple website.
Where are QuickTime screen recording files stored on Mac?
After screen recording, QuickTime lets you save it to your hard disk. Depending on where you save the recording, an app may open. By default, Mac will save recording files to your desktop.
This piece of troubleshooting tells you what you should do when QuickTime is not working in various situations. It cannot be denied that QuickTime is convenient to use for video playback and screen recording. However, it contains many bugs and errors. Following our troubleshoot, you can fix this problem easily. Vidmore Screen Recorder is the ultimate solution to help you get rid of the issue. If you have other problems, please write them down below this post.


