How to Use DaVinci Resolve to Stabilize Video [Solved]
DaVinci Resolve is a high-end video editing and post-production tool known for its comprehensive features. Many skilled video editors use DaVinci Resolve to stabilize video to improve the quality of their projects. The Stabilization feature allows users to smooth out shaky clips, which are commonly caused by unexpected camera movements or handheld shooting. In this post, you will learn how to stabilize video in DaVinci Resolve using various methods. This way, you can enhance your videos and create a steady flow in your clips.

PAGE CONTENT
Part 1. What is DaVinci Resolve
Before we get into the technicalities of video stabilization, let’s first get to know DaVinci Resolve. Developed by Blackmagic Design, it is an all-inclusive solution for color correction, color grading, visual effects, and audio post-production. DaVinci Resolve’s stabilizer is one of the standout features, allowing users to reduce video shakes. But what makes it truly remarkable is its multiple stabilization options, from automatic processes to manual adjustments. Combined with comprehensive tools and powerful performance, DaVinci Resolve stands as a versatile choice for simple and complex projects.
Part 2. Video Stabilization in the Edit Tab
First, let’s explore the first method of stabilizing the video using the Edit tab. This camera stabilizer of DaVinci Resolve provides various modes, including Perspective, Similarity, and Translation. These modes can help reduce unwanted shake and smooth out footage.
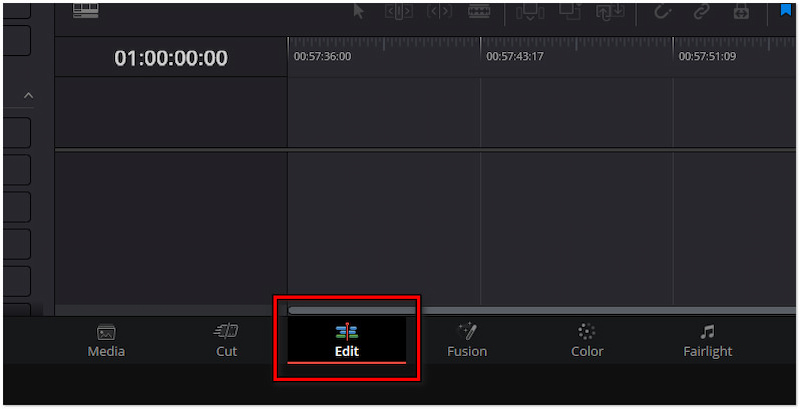
Step 1. Import a video and drag it onto the timeline in the Edit tab.
Step 2. Click the Inspector tab and navigate to the Stabilization section.
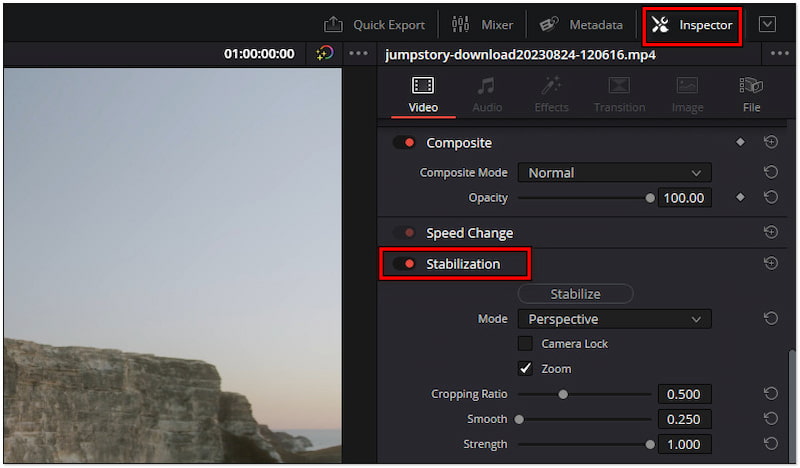
Step 3. Select a Stabilization mode depending on how shaky your video is.
• Perspective: This mode is ideal to adjust for all motion.
• Similarity: This mode preserves the aspect ratio while stabilizing.
• Translation: This mode corrects for horizontal and vertical shake.
The Edit tab provides an easy way to stabilize video without requiring complex adjustments. In addition to video stabilization, you can also crop video to reframe it.
Part 3. Video Stabilization in the Color Tab
Another option is to use DaVinci Resolve’s color stabilizer. Beyond the advanced color grading feature, the Color tab comes with a Tracker tool. It allows manual stabilization to lock onto points in the frame and remain stable throughout the shot.
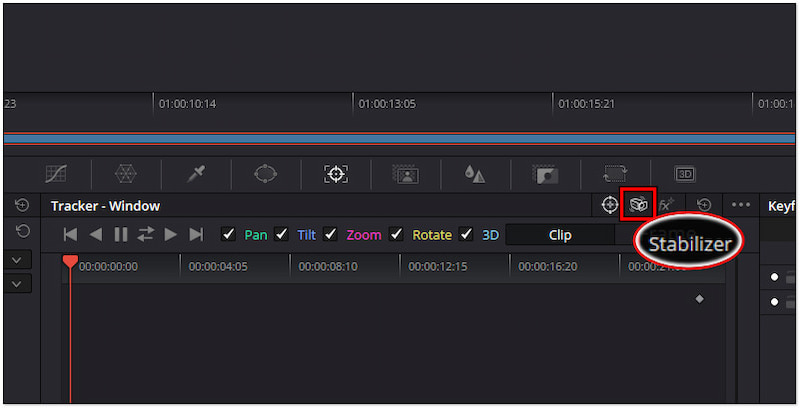
Step 1. In the Color tab, locate the Tracker to access the tracker window.
Step 2. Select the Stabilizer option between the Window and FX icons.
Step 3. Similar to the Edit tab, choose a mode based on your video’s level of shake.
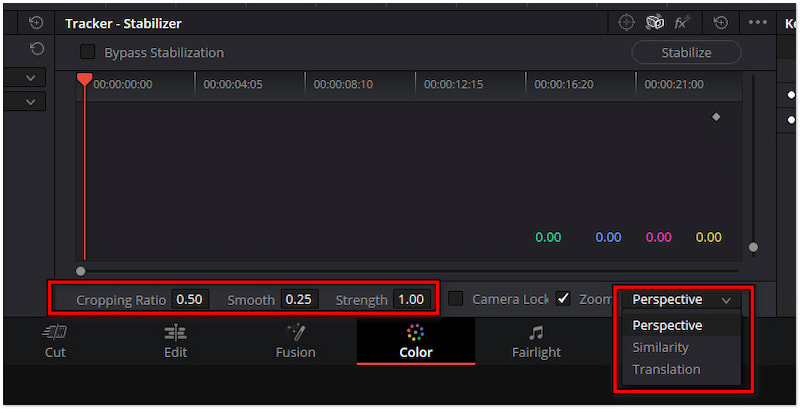
Tip: Adjust the Cropping Ratio, Smooth, and Strength to fine-tune the stabilization effect further. These control settings help manage how much stabilization is applied to the video.
Part 4. Video Stabilization in the Cut Tab
Lastly, you can consider the Cut tab on DaVinci Resolve to stabilize video. This method is ideal for quick editing and is beneficial for those who need to work quickly. The stabilization feature offers a straightforward solution to reduce camera shake and stabilize video.
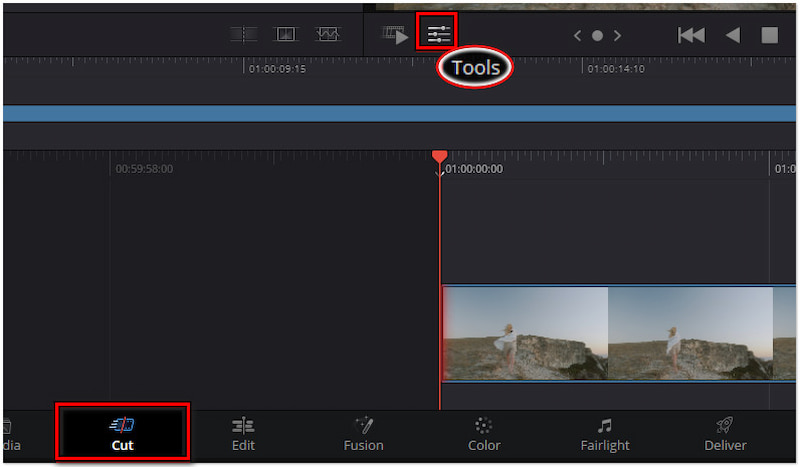
Step 1. Navigate to the Cut tab and click the video you want to stabilize.
Step 2. Click the Sliders icon to access the Tool and select the Stabilizer.
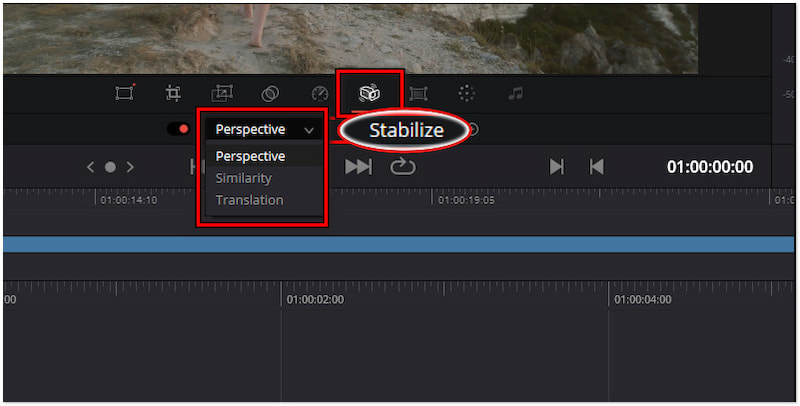
Step 3. Select your preferred mode and click Stabilize to apply the changes.
The Cut tab lets you quickly reduce video shake without navigating through complicated menus. It applies corrections to the video automatically, making it convenient as a hassle-free solution.
Part 5. Best Alternative to DaVinci Resolve to Reduce Video Shakes
Although DaVinci Resolve provides a powerful solution to reduce video shakes, it might not be suitable for non-tech-savvy users. If you need a quick and simple solution that can outperform DaVinci Resolve to stabilize video, Vidmore Video Enhancer is worth a try. Powered by advanced stabilization algorithms, this video enhancer tool can better handle extreme shakes. Additionally, it requires little to no icon interaction, as it works automatically.
Beyond stabilizing video, Vidmore Video Enhancer offers additional useful features. Some of these are video resolution upscaling, optimizing video brightness and contrast, and video noise removal. And the best part? All these features are made possible through artificial intelligence. This makes it a convenient, all-inclusive tool for improving video quality, mainly for users looking to make quick fixes. These are just a few of its many features available, so explore it now.
Step 1. Start by getting a free download of Vidmore Video Enhancer. Install the video enhancer tool and allow the installation process to complete.
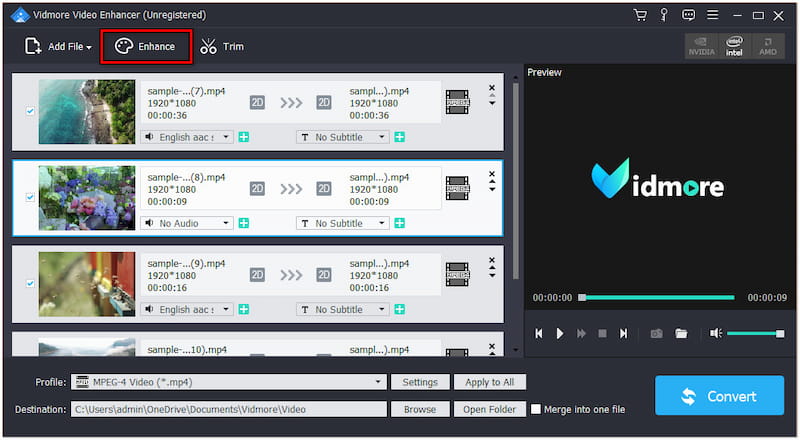
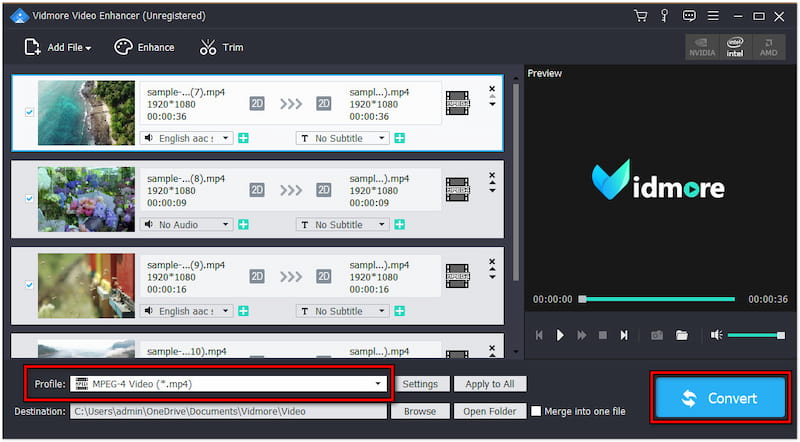
Step 2. After completing the installation, launch it on your computer. Click Add File to import the shaky video you want to stabilize. Not to mention, you can add multiple videos as you want.

Step 3. Once loaded, put a checkmark on each file to ensure they are selected. Navigate to the Enhance tab to initiate the video stabilization process.
Step 4. In the Enhance window, put a checkmark on the Video Deshaking option to reduce video motions. You can also put a checkmark to other options for better results.
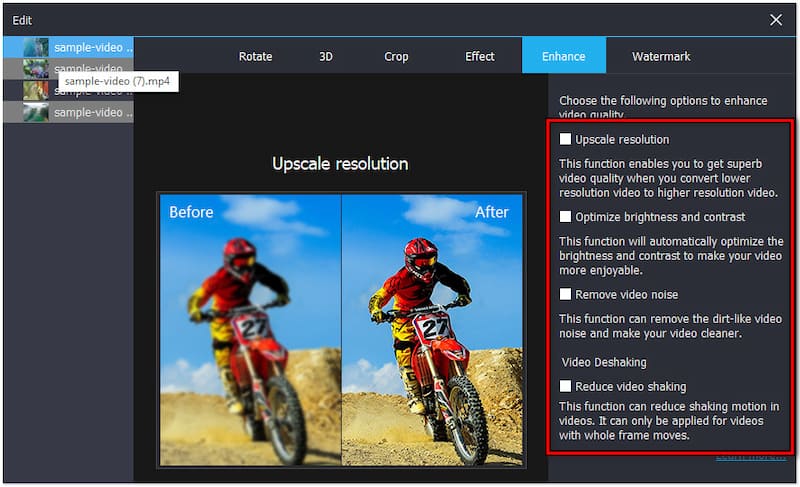
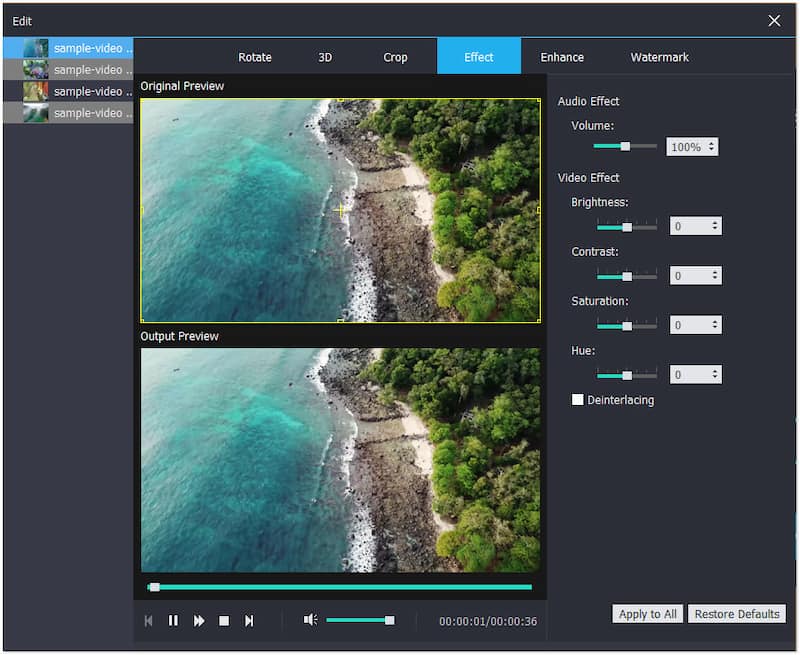
Step 5. Once that is done, click Apply to All to apply the enhancement. If needed, edit your video using other editing tools, like adjusting audio and video effects.
Step 6. After completing the previous step, go back to the main interface. Select your preferred output format and click Convert to save the stabilized video on your computer.
Vidmore Video Enhancer is an excellent tool for simple and efficient video stabilization. Its user-oriented interface is perfect for quick and effective outputs. Another useful feature you can try is the 3D video maker, which allows you to convert your 2D to 3D videos.
Part 6. FAQ about Using DaVinci Resolve to Stabilize Video
Is there a way to stabilize a shaky video?
Yes, there are several ways to stabilize a shaky video. Tools like DaVinci Resolve and Vidmore Video Enhancer offer stabilization tools for this purpose.
How do I smooth choppy video in DaVinci Resolve?
If you want a smooth, choppy video in DaVinci Resolve, you can lower the resolution during playback. This will only affect the playback but won’t affect the final video.
How to stabilize multiple clips in DaVinci Resolve?
Stabilizing multiple clips in DaVinci Resolve is simple. Initially, select all the clips you want to stabilize. In the Inspector panel, navigate to the Stabilizer section. Choose a stabilization mode and apply it to all your clips.
Conclusion
Knowing how to use DaVinci Resolve to stabilize video can benefit you by correcting video shakes and ensuring a smooth playback. This powerful stabilization tool is accessible through the Edit, Color, and Cut tabs. Also, we present you with an alternative, Vidmore Video Enhancer, that lets you transform shaky and distracting videos into professional content in no time.